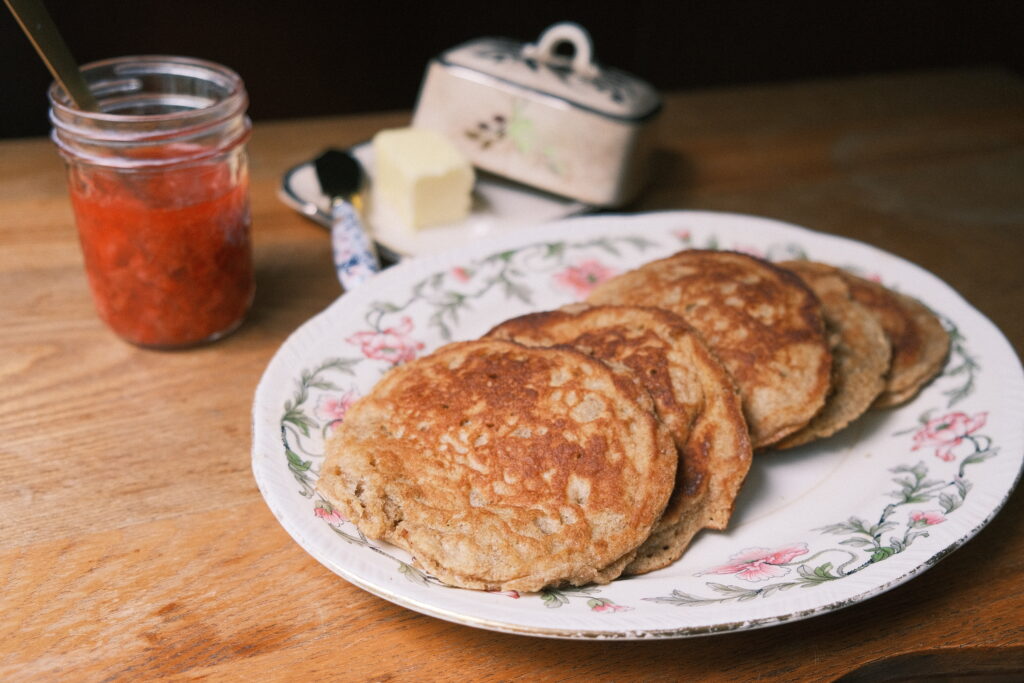
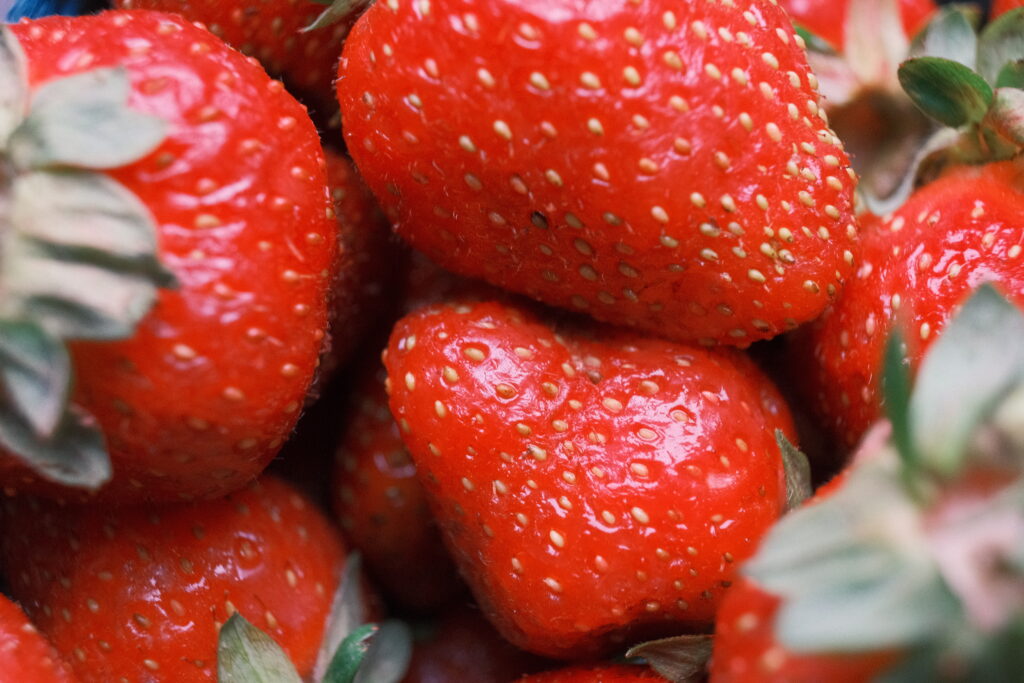
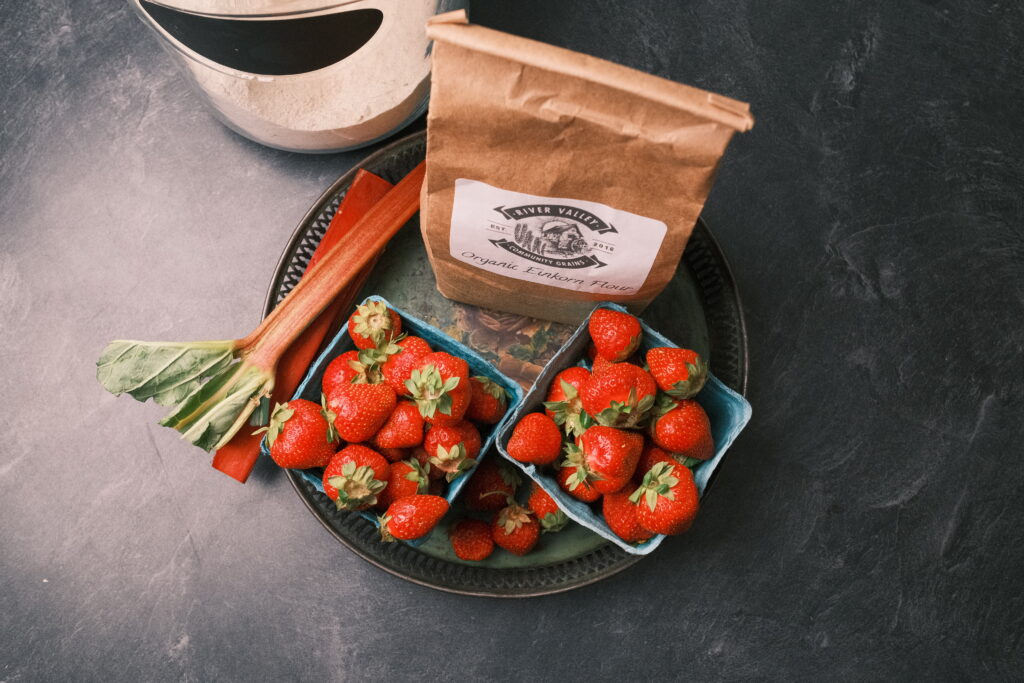
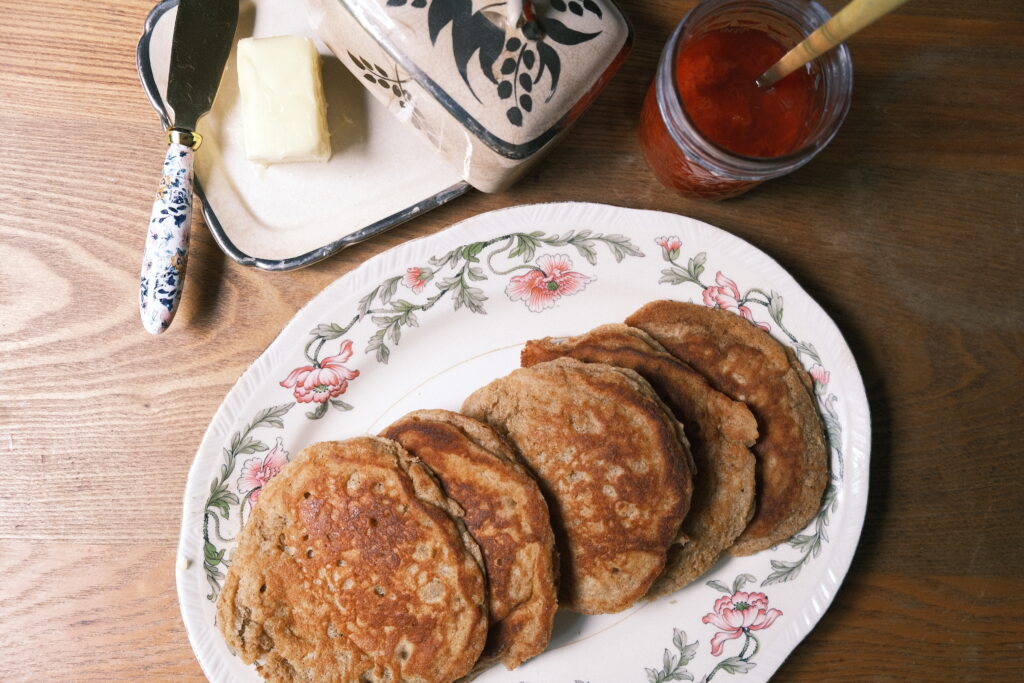
One of the most exciting days at the farmers market is when you get that first glimpse of ruby red strawberries on the market tables. I could finish an entire bunch in one sitting and rejoice in my red-stained fingers. Make sure to grab an extra quart so you can make the perfect topping for these pancakes. These einkorn pancakes with strawberry and rhubarb compote hit just the right balance of sweet and slightly tart, and harken the arrival of summer.
The Benefits of Einkorn
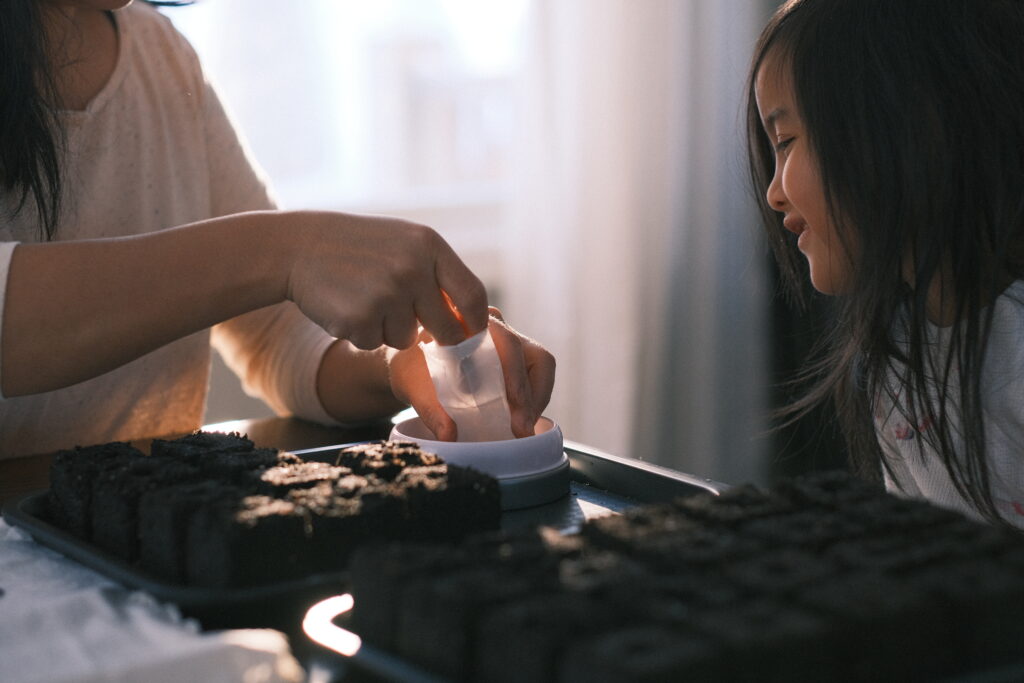
The einkorn flour in this recipe gives these pancakes a unique, rich flavor. You can watch me make them in this video.
I find myself incorporating einkorn into many of my breakfast and baked goods, including waffles and scones. Aside from the fact that einkorn is nutritious, it is also just so darned delicious! The best way I can describe it is that it tastes earthy, somewhat sweet, and slightly nutty.
Einkorn is often called “nature’s original wheat”. It is considered an ancient grain because it was cultivated more than 10,000 years ago, and it has never been hybridized. As a pure wheat, it is easier to digest einkorn. You can use einkorn in recipes in place of whole wheat.
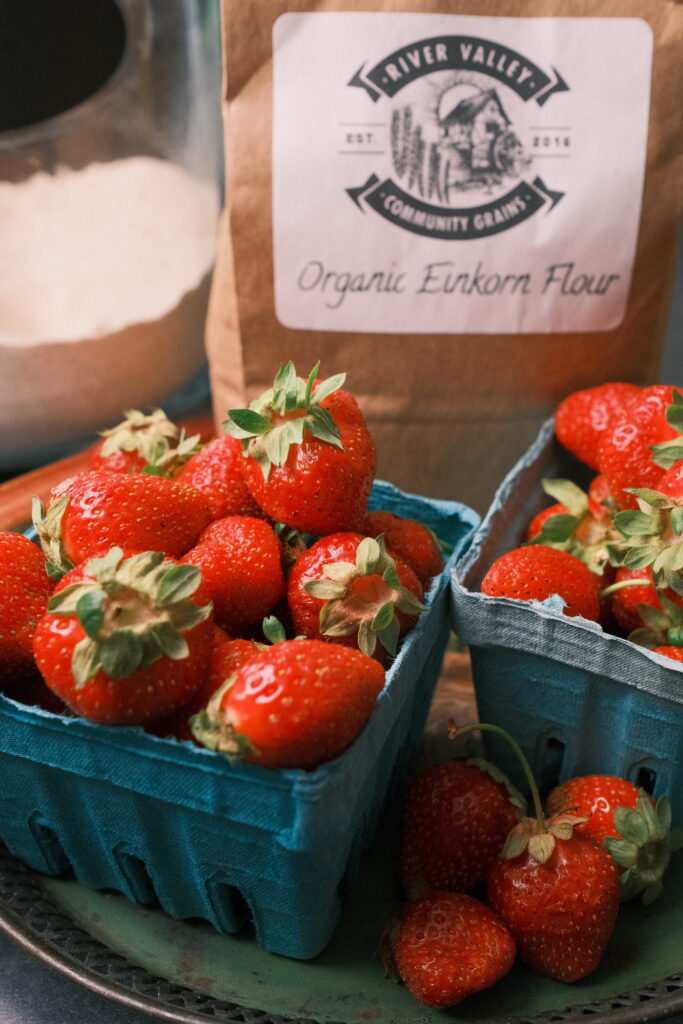
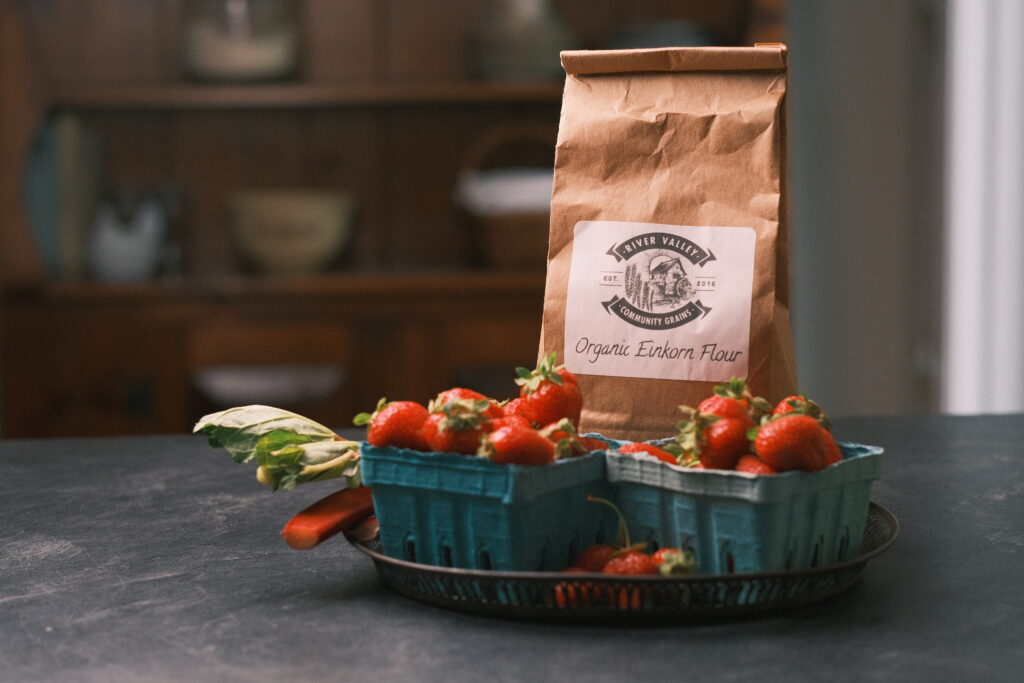
I source my einkorn locally from River Valley Community Grains. They make amazing, freshly milled flours and sell a variety of the most beautiful, wholesome grains. Jovial also makes a terrific organic all-purpose einkorn flour.
Strawberries and Rhubarb

The combination of strawberry and rhubarb is classic for a reason. Together, the flavor always signals for me the glorious transition from spring to summer. The sweetness of the strawberry plays seamlessly with the tartness of the rhubarb.
This compote is sweetened with honey and brightened up with lemon juice. The blushing rhubarb is firm and crisp when sliced, but it softens and collapses into jammy goodness once simmered on the stovetop.
Cook with Me Video: Einkorn Pancakes with Strawberry and Rhubarb Compote
Cooking Notes
- I love using raw honey, which has a thicker consistency than filtered honey. When whisked in with the wet ingredients, it dissolves completely and uniformly.
- Pancake flipping can be intimidating, I get it. But you got this! Just go for it. It’ll take some practice, and I promise that any wonky looking pancakes will still taste delicious!
- To keep your pancakes from browning too quickly or burning, make sure to keep the heat on low. Keep an eye out when the first tiny bubbles start to form on the top. That means they’re almost ready.
- The compote may look a little soupy when taken right off the heat. It will thicken as it cools. Store in an airtight container, such as a mason jar.
- Stir in leftover strawberry and rhubarb compote in your morning yogurt or add a spoonful atop some vanilla ice cream. Throw some on top of the leftover ricotta from this recipe. Yum!
Add-Ons and Substitutions
- No rhubarb at the market? Sub it for 1 cup of blueberries, blackberries, or raspberries. You can also make the compote solely with strawberries.
- This recipe works with a bag of frozen strawberries when in a pinch.
- Add a dallop of mascarpone cheese alongside the strawberry and rhubarb compote if you want to have dessert for breakfast. Because, why not?
Recipe
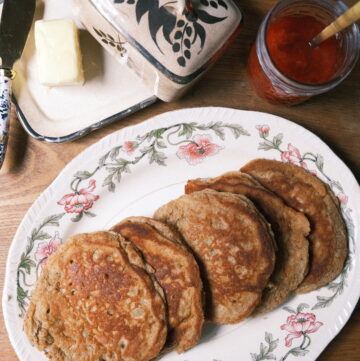
The Best Einkorn Pancakes with Strawberry and Rhubarb Compote
Ingredients
Strawberry and Rhubarb Compote
- 2 cups strawberries (sliced in half)
- 1 cup sliced rhubarb (1/2 inch slices)
- 1/2 cup water
- 3 tbsp honey
- 1 tbsp lemon juice
- 1/8 tsp kosher salt
Einkorn Pancakes
- 2 cups einkorn flour
- 1 tbsp baking powder
- 1 tsp baking soda
- 1/4 tsp kosher salt
- 1 cup buttermilk
- 3 tbsp honey
- 2 eggs
- 1 tsp vanilla extract
- 4 tbsp melted unsalted butter (plus more for the pan)
Instructions
Strawberry and Rhubarb Compote
- Put the strawberries, rhubarb, water, honey, lemon juice, and kosher salt in a sauce pan and bring to a boil. Turn down the heat and simmer for 10 minutes, or until the strawberries and rhubarb start to break down and look like a runny jam.
- Take it off the heat and prepare the pancakes.
Einkorn Pancakes
- Mix the einkorn flour, baking powder, baking soda, and kosher salt together in a bowl. In another bowl, mix the buttermilk, honey, eggs, vanilla, and melted butter.
- Make a well in the middle of the dry ingredients. Pour the wet ingredients inside the well and slowly incorporate the dry ingredients. Don't overmix. Stop once all the flour has been incorporated.
- Warm up 1 tablespoon of butter in a cast iron pan until most of the bubbles disperse. On low to medium heat, use a ladle to pour in 1/3 cup of batter to make 1 pancake. In a 12 inch cast iron skillet, you can fit 2-3 pancakes.
- After 2 minutes, or once the underside starts to turn golden, flip the pancakes. Cook each pancake another 1 minute or until the other side turns golden.
- Melt a tablespoon of butter in the skillet before cooking each set of pancakes.
- Top the pancakes with strawberry and rhubarb compote and softened butter. Bon Appetit!