Do you want to learn a way to start seeds that is simple, and both earth and wallet friendly? Enter, the soil blocking method. I’m excited to walk you through the steps of easy and sustainable seed starting with soil blocks. Soil blocking has so many benefits, and I bet that once you start creating those adorable little nuggets of soil, you won’t want to start your seeds any other way!
This post contains affiliate links, which means I make a small commission at no extra cost to you. See my full disclosure here. As an Amazon Associate I earn from qualifying purchases.
What is Soil Blocking?
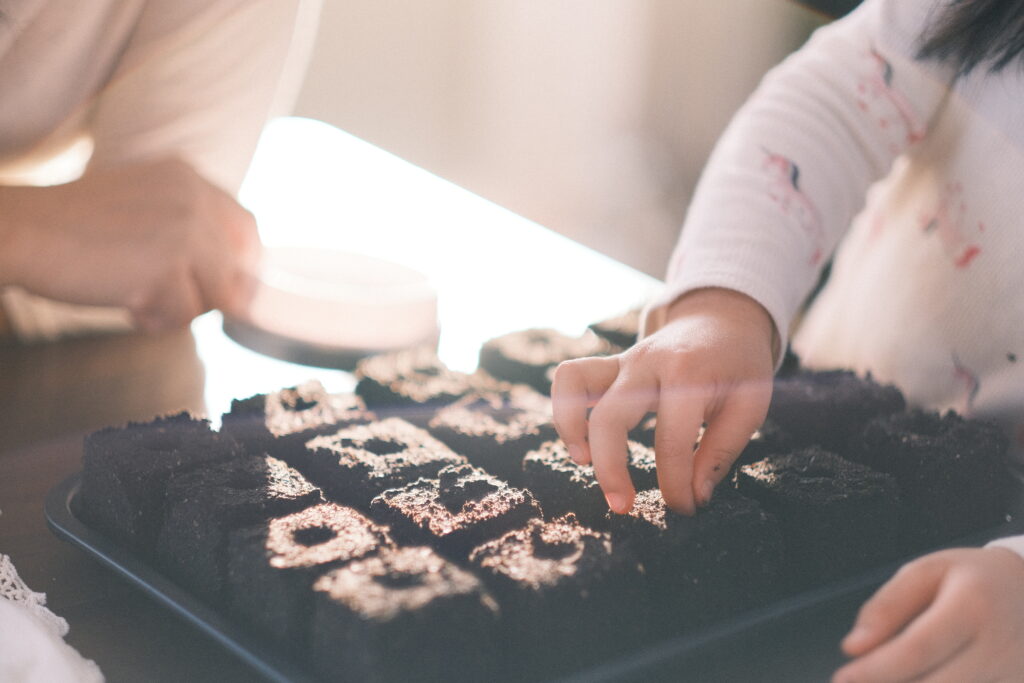
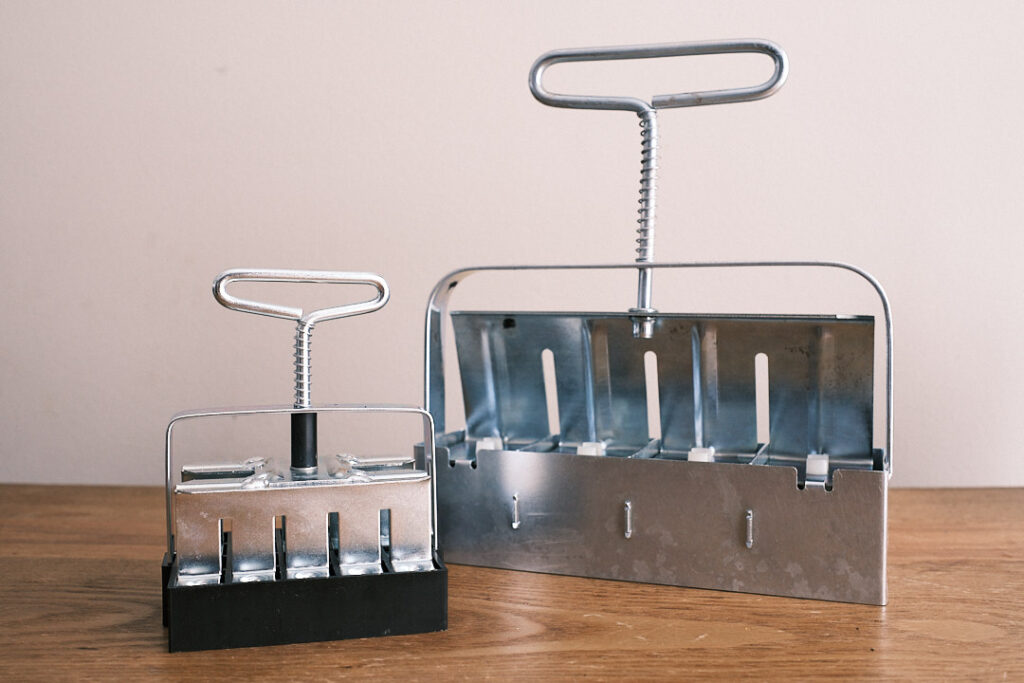
Soil blocking is a method of using a soil blocker machine to create compacted soil blocks. You can then sow seeds directly into those soil blocks, usually into a divot created by the soil blocker.
Soil blocking is an alternative to the traditional method of sowing seeds into plastic cell trays. When it comes time to move the seedlings outside, you can simply take the soil block and plant it into your garden bed in a similar way you would a plug from a cell tray.
For a video tutorial, be sure to also check out my video on starting seeds with soil blocks here!
Making Soil Block Mix for Seed Starting
First, prepare your homemade soil block mix. I have had success with using 1/3 compost, 1/3 potting soil, and 1/3 seed starting soil. You can also buy pre-packaged soil block mix to save some time. I use the large Rubbermaid-type plastic bins to hold the soil, but a wheelbarrow or other large container would work as well.
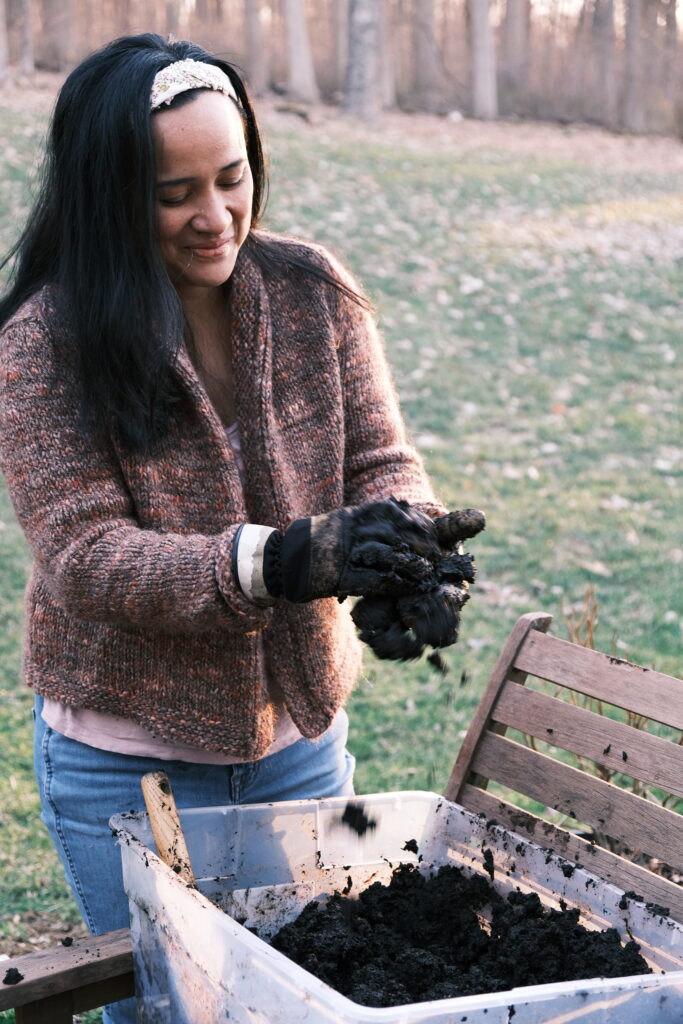
Next, mix water into your soil so that it will hold together within your soil blocker. I add enough water so that after I mix it in, my soil has the consistency of chunky brownie batter. The soil should be fairly saturated with water so that when you add more water, it puddles a bit on top of the soil. You may be surprised at how much water you need to add to get to this point.
When you squeeze the soil between your hands, you should have some drops of water dripping trickling down your fingers. I also like to mold it with my hands almost like working with play dough. When I can mold it into shapes, it is ready to for the soil blocker. You can technically use the soil right away after mixing in the water, but I like to wait at least 2-3 hours to give the water a chance to really absorb into the soil.
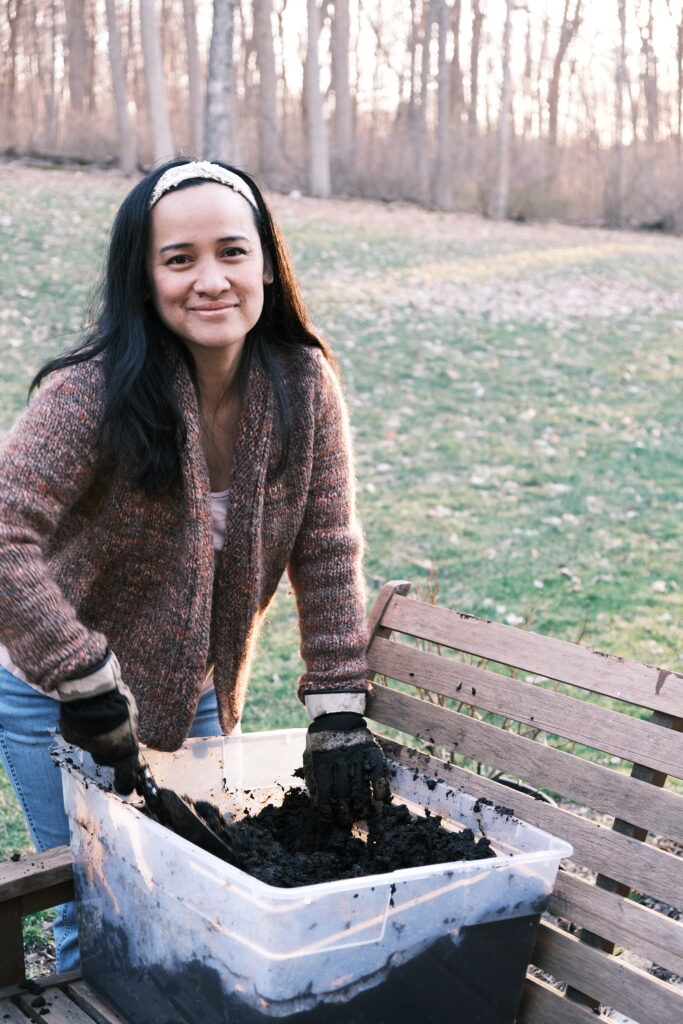
You can use a spade or wooden spoon to mix the water and soil together, but the best tool I have found is my hands. Use rubber gloves or garden gloves, and your hands will thank you later!
How to Make Soil Blocks
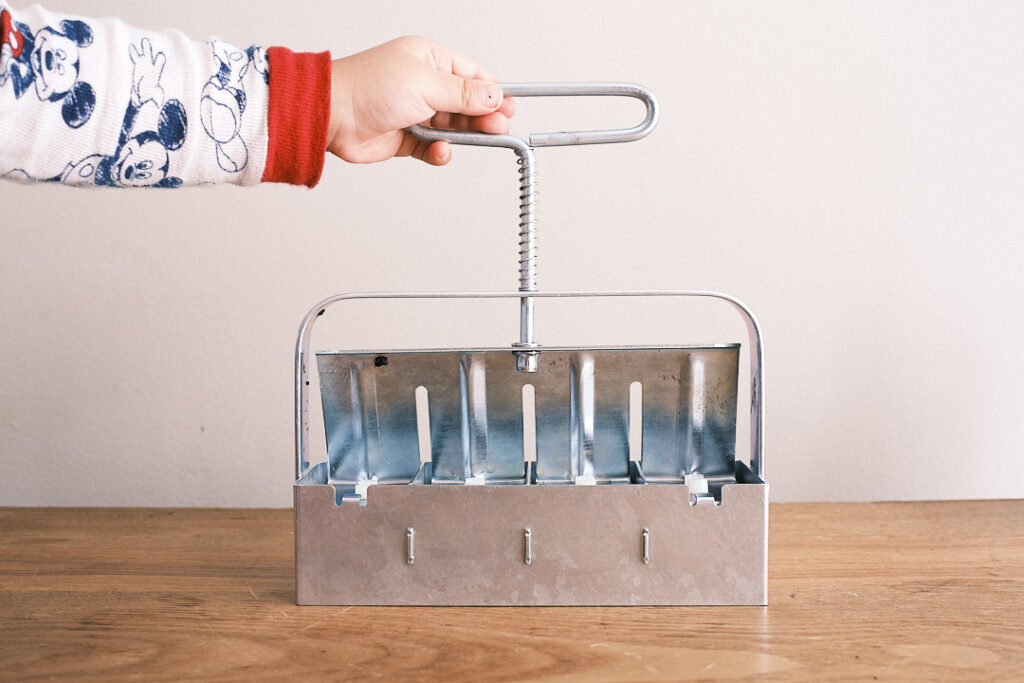
I use the mini soil blocker that creates 3/4″ blocks to start most seeds. Most seeds can sown into a 3/4″ soil block. There are some exceptions to this, however. Larger seeds like sweet pea get require more soil. The 2″ soil block shown above is perfect for these larger seeds. I was thrilled to find this kit that included both the 3/4″ inch and 2″ soil blockers, with assorted dibble sizes.
Once your soil mix is made, plunge the soil blocker into the soil. Wiggle the soil blocker down into the soil about 3-4 times to ensure it is completely filled and compacted with soil. Pat down the soil with your hand and pat down extra soil if needed to ensure you fill any gaps. Wipe off the excess soil on the bottom with your hand or with the edge of a wooden spoon. After that, gently squeeze the handle to release the soil blocks onto your tray. I usually shimmy the soil blocker slightly to ensure that I am getting all of the soil blocks out.
You can watch me do this in my video about seed starting with soil blocks.
Soil Blocking Trays
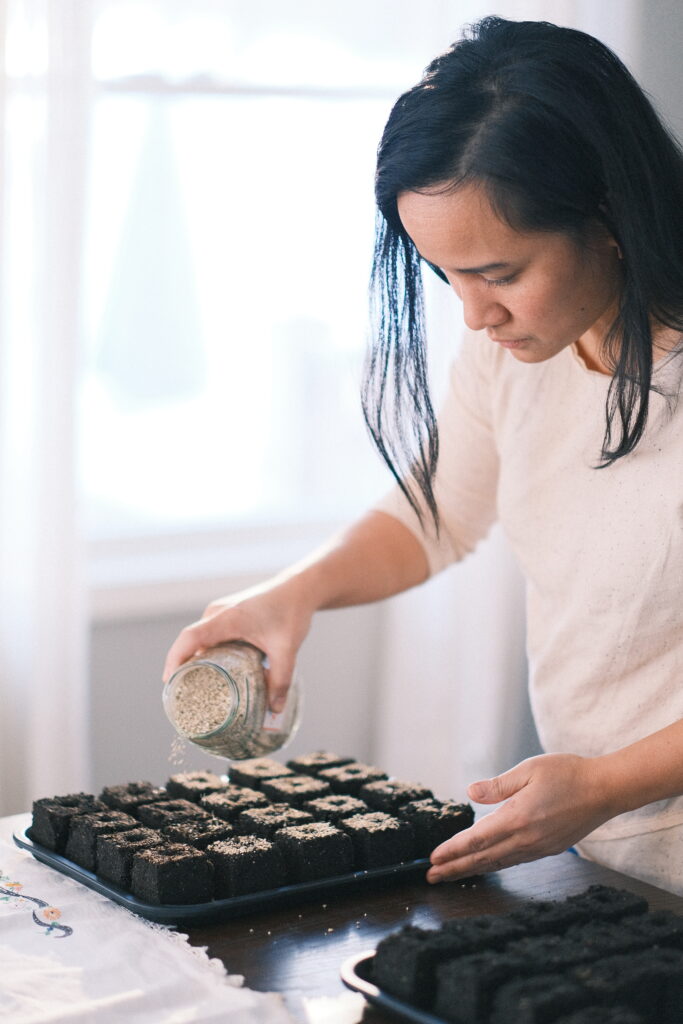
I mostly use cafeteria trays that I found in bulk here. I have also used sturdy metal cookie/baking sheets with lots of success (I often pick up baking sheets at the thrift shop or at garage sales just for this purpose). They are large and can fit a huge amount of soil blocks.
I have also repurposed aluminum trays and plastic takeout containers. As long as your tray has a flat bottom with no holes, definitely save money by using what you have!
Sowing Seeds into Soil Blocks
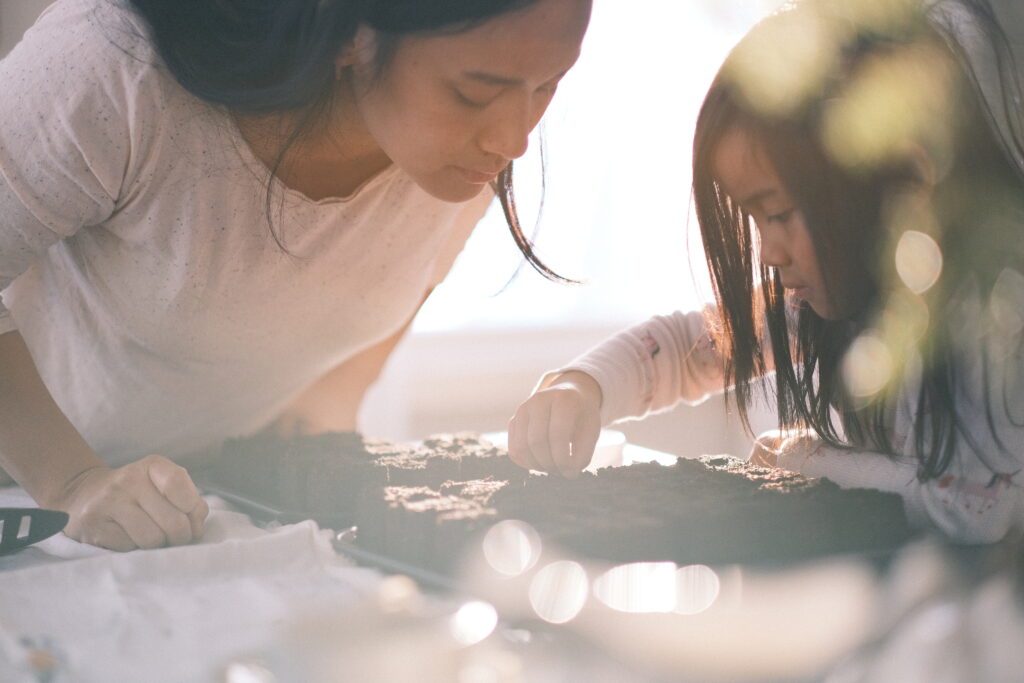
I have germinated both flower and vegetable seedlings in soil blocks with much success. Place one seed in the divot. With tiny seeds like snapdragons or poppy seeds, I lick a pencil tip to help ‘grab’ the seed and pop it right into the divot.
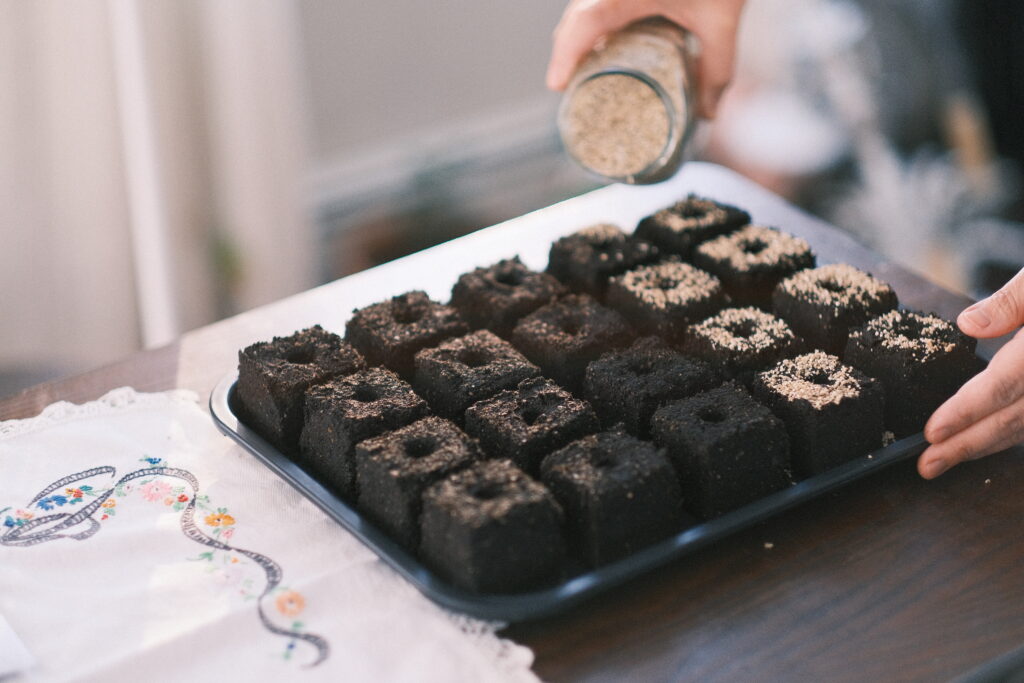
To keep the moisture in, I sometimes sprinkle vermiculite on top of my 2″ soil blocks. Be careful not to get it too much in the crevices between the blocks so as not to prevent water from flowing.
Just be sure to read the seed packet carefully to see if the seed needs light to germinate. If so, make sure you don’t cover them with any soil or vermiculite.
When your seedlings in the 3/4″ blocks outgrow their little cube, you can pot it up to the 2″ inch block. Do this by creating 2″ inch blocks using the dibble attachment that creates a larger divot where you can perfectly nestle your 3/4″ block into.
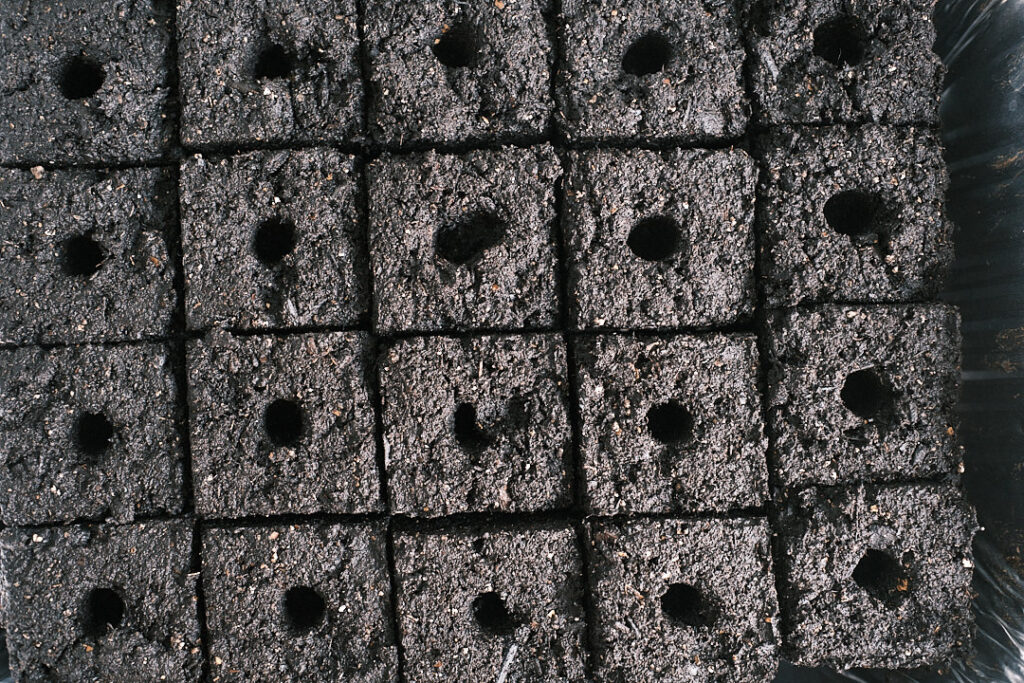
Don’t forget to marvel at all your cute little brownie-looking soil blocks!
Watering your Soil Blocks
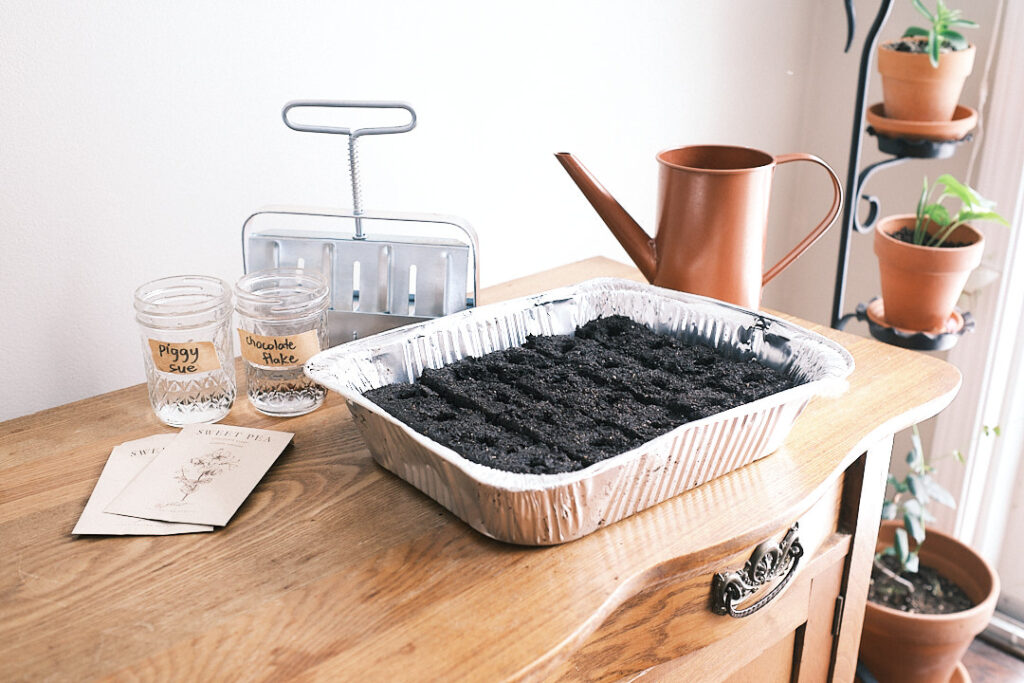
Soil blocks needs to be watered from the bottom so as not to wash away the delicate blocks. The soil blocks will seep the water up, and so it is important to use trays with no holes if you are starting your seeds indoors. Bottom water the 3/4″ soil blocks at least once a day. If you see them starting to dry out, definitely give them a second watering. The larger 2″ soil blocks are a little bit more forgiving if you forget to water for a day.
Benefits of Seed Starting with Soil Blocks
Strong Seedlings
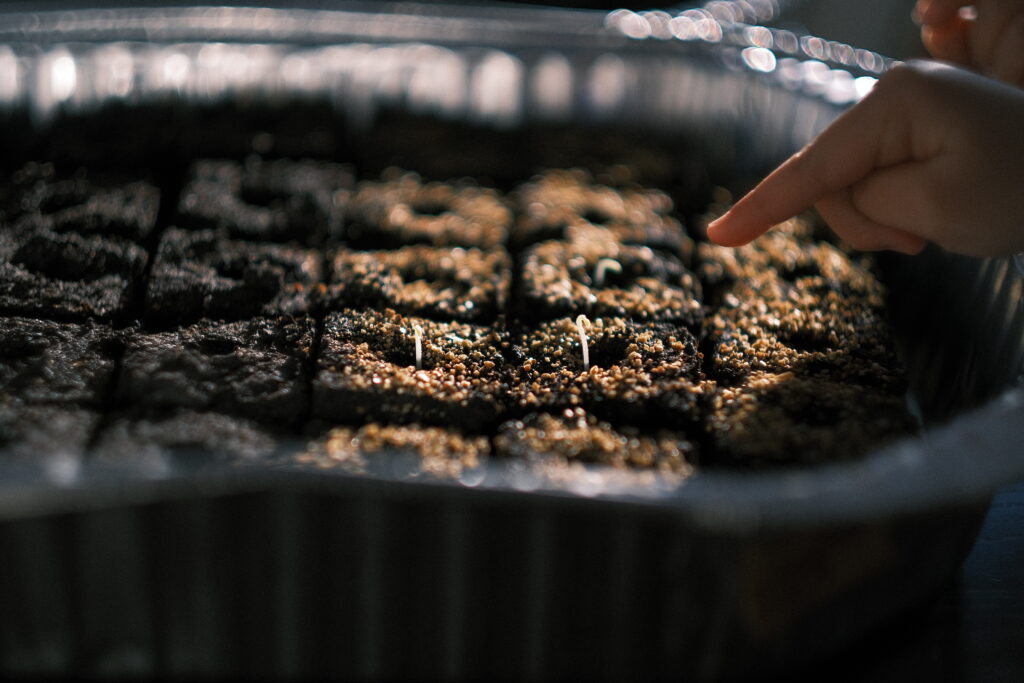
Since the seeds are started in soil blocks as opposed to plastic cell trays, the roots do not wrap themselves around the plug. Instead, the roots air prune themselves since on almost all sides they are exposed to air. This leads to stronger seedlings that will experience less chance of shock when transplanting into the field.
Cost-effective
The actual soil block machines are a little bit of an investment up front. However, you will save money in the long run without having to purchase plastic cell trays, which are prone to cracking and have to be replaced often.
Sustainable
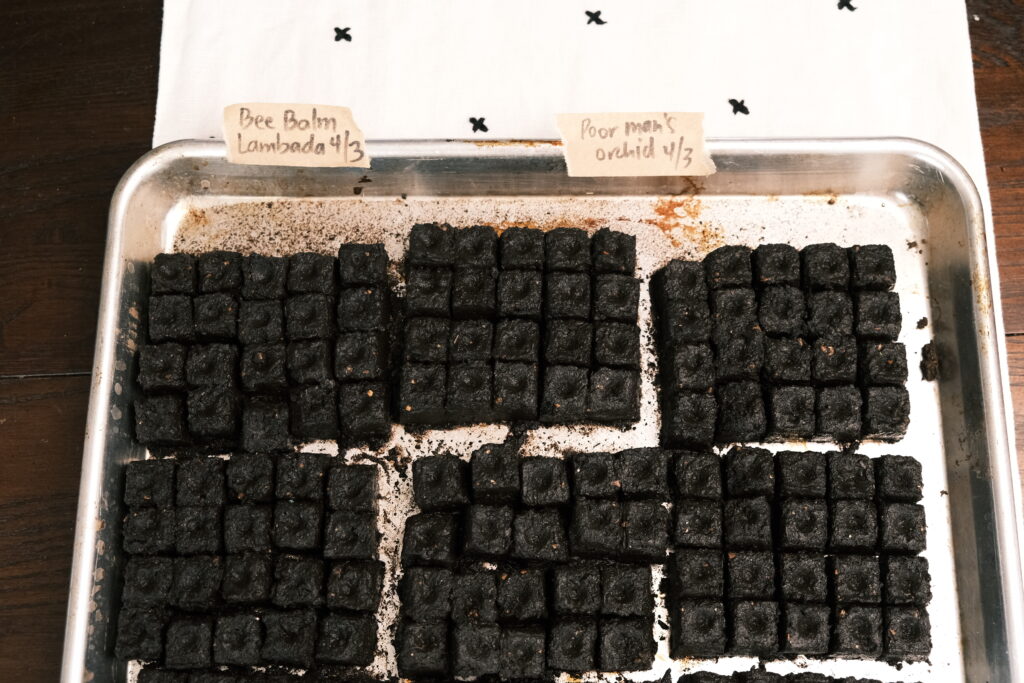
Soil blocking is earth friendly! Repurpose trays or containers you may already have at home as soil blocking trays. Reduce your use of plastic by eliminating the need to purchase plastic cell trays (and save storage space while you are at it!)
Easy and Fun!
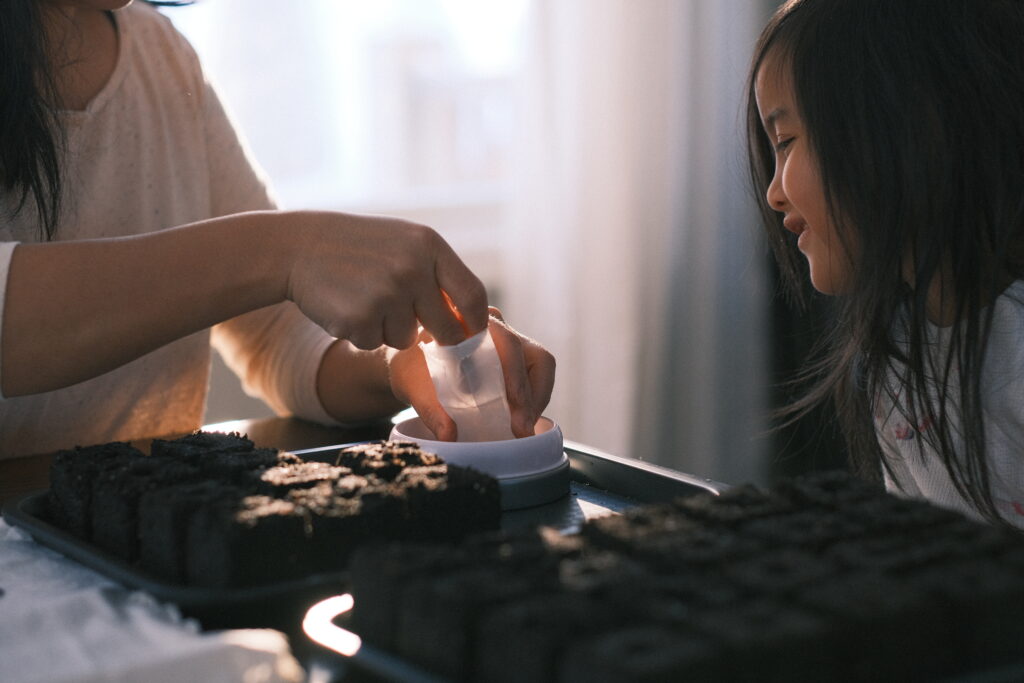
It is oddly satisfying seeing all those cute little soil blocks in your trays. The machines are fun and easy to use, and the kids love getting involved in pushing the soil blocks out and popping seeds into the divots. Since the seed is often not covered in the soil block, you can get an up-close view of a seed’s germination. It is fascinating to watch and the best science lesson for my little ones. Running down to the basement to see my happy seedlings thriving in their soil blocks never gets old!
Be sure to check out my video for more tips on easy and sustainable seed starting with soil blocks.
Have you tried seed starting with soil blocks? Be sure to leave a comment below and share your insights with the lovely day farmette community!
Shop this Post

What a great idea! Love it!